
How to create animated product updates
At Highlight, we make it our goal to add sparkles to our product updates when we can. One way we do this is by sharing product updates with dynamic animations rather than with static images. This allows us to tell the story of a product update in its entirety; something that we wouldn't be able to with just an image. Here are some examples:
We use these animated stories when sharing to Twitter, LinkedIn, and directly to customers.
These animated stories are not a new concept. We were heavily inspired by others like GitHub and Retool.
We'd like to share how we create our animated stories.
Tools
- A screen recorder (We use QuickTime Player on Mac)
- A video editor that supports keyframes (We use Adobe After Effects)
"The Script"
Plan out the story you want to show. You should be able to record the story in less than 15 seconds. We shoot for animated stories that are 5 seconds. We usually get a 5 second animated story from a 15 second recording after cuts and speed ramps (speeding up the video).
Tips
- Record the beginning and ending so you can create a looping video (no real reason other than it's oddly satisfying)
- Use a mouse instead of a trackpad (we're more accurate and have smoother motion with a mouse)
- Make sure you're not recording any sensitive information
Editing
-
Import your recording into your video editor
-
Set the video canvas resolution (we use 500x500 if we're lazy)
- This depends on where you want to show the animated story. Different platforms UIs are optimized to render media at different sizes. You can read this guide for sizes.
-
Optional: Set your recording layer to 3D mode if you want to do any 3D effects.
-
Add speed ramps
- Speed ramps are used to speed up portions of your video. I usually speed up the video by 200% (because we're slow at recording mouse movements and keyboard input). We also will sometimes go up to 400% depending on what's on-screen.
-
Add keyframes
- We use scale, position, opacity, and rotation often.
-
Export to .gif and .mp4.
- Why both? We prefer using .mp4 where possible and .gif as a fallback. Most platforms give you analytics like view count for .mp4s but not .gifs. .mp4s are generally a lot smaller size-wise compared to .gifs too.
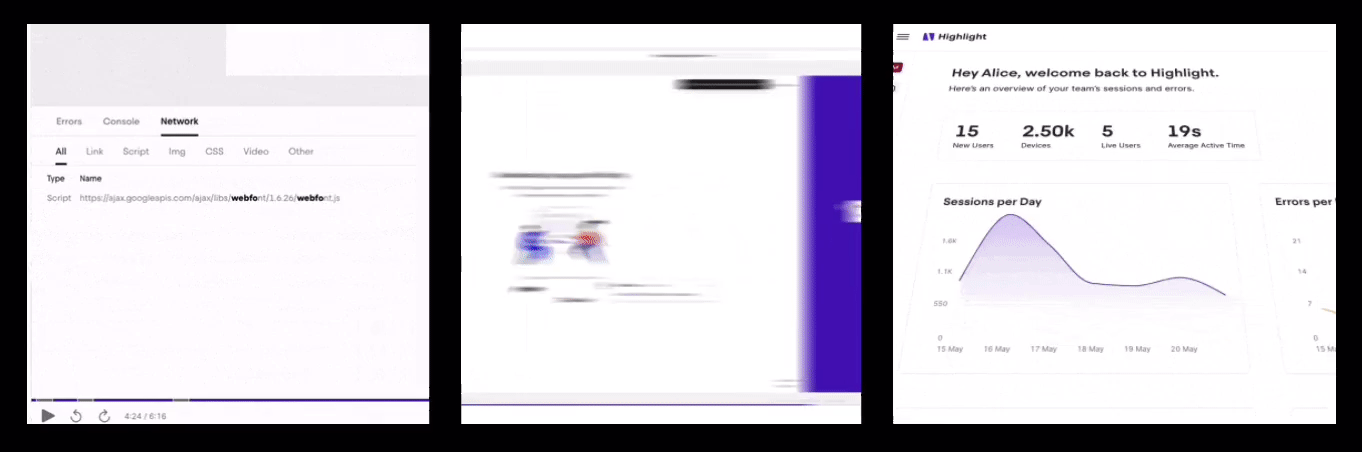
Example
Here's what our video editor looks like after adding keyframes.
Demo
Here's a recording of how we edited an animated story.
Tip
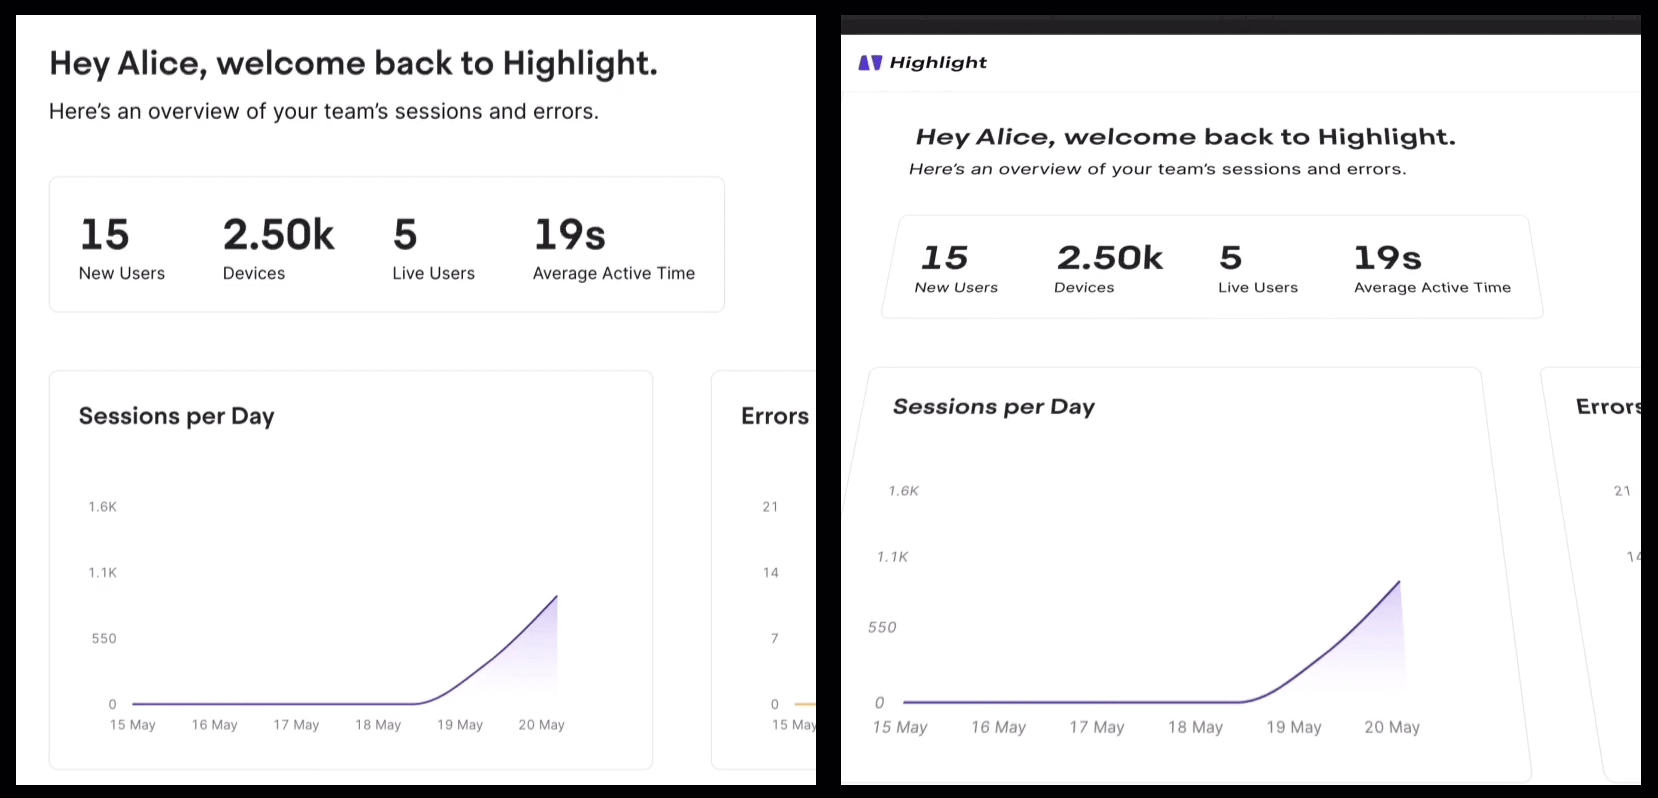
There's no "right" way to edit your video. Every edit is different depending on what's recorded. Some "plots" for the stories will be pretty stale. In those cases, we will add "sparkles" by playing with perspective. A simple rotation will take a boring pan and add a little more wow.
Here's an example: the left is without a 30° tilt and the right is with a 30° tilt.
Aaand that's pretty much it! Hope this helps you add some sparkles to your product updates.
If you end up creating animated stories, I'd love to see them! You can reach me on Twitter @JohnPhamous.
Until next time, ✨
Thanks to jsjoeio for reviewing the draft!